Xero connection settings - (single branch)
Overview
To connect Lentune to your financial or job management system, you'll need to set up the integration fields and authenticate your account from within Lentune, and establish the connections within the integrated system.
We'll show you how to set up your primary integration platform. However, if you are using an additional integration method, you can set that up here too. Refer below to see how to set up the primary method and any secondary method as below.
Interface Settings in Lentune
To link your account, you'll need to link the modules you are integrating between Lentune and your primary interface system. In the example and screenshots below, we've used Xero as a demonstration.
- Start at Administration > Settings, click the Integration tab and then click the Configuration tab.
Complete the fields below for the relevant modules for your integration. The Interface type that you select will then cause the corresponding field in the Integration connection settings section in the next column to be ticked and greyed out. In the Invoice interfaces section, select the interface type you are using by updating these fields:
-
Payable invoice batch payment interface: Select Lentune.
-
Primary invoice batch interface: Select your primary integration method, e.g. Xero With Oauth2 for single branch, or Xero Multi Branch With Oauth2 for multi branch. The integration method you select here in the left column will be your primary integration platform which will be the default option that applies when you create any new batch of data to transfer.
In the Expense interfaces section, update these fields.
- Expense payment interface: Select Lentune.
- Expense analysis interface: Select Xero With Oauth2 for single branch, or Xero Multi Branch With Oauth2 for multi branch. If you are not using Expenses integration, select Unknown.
In the Timesheet interfaces section, update:
- Time sheet batch interface: Select Xero Oauth2 for single branch, or Xero Multi Branch With Oauth2 for multi branch. If you are not using Time sheet integration, select Unknown.

Now in the Integration connection settings section, the interface option that you selected will be ticked.
Dual Interface
If you have a secondary interface, you can now select that method here. Whether your system integrates to one or two systems, you can check the success or failure of your batches. Refer below to learn how to check this.
- The options available are:
- Enable Xero integration.
- Enable Xero Multi-Branch integration.
- Enable Simpro integration.
- Enable Jobpac integration.
- Enable Procore integration.
- Enable Quickbook integration.
Now the integration platform that you are using will show the Settings icon ![]() beside it and a tab for that option will appear in the top of your screen. Click this icon, or the appropriate tab at the top of the screen, to proceed to the next screen to establish your Connection Settings.
beside it and a tab for that option will appear in the top of your screen. Click this icon, or the appropriate tab at the top of the screen, to proceed to the next screen to establish your Connection Settings.
Where you are using only Xero, then continue to the Settings via the Settings icon.
If you are using a secondary integration platform running simultaneously, such as Jobpac or Procore, you can tick the box for that option to complete the settings. This will then also show as a tab at the top of the page.

Xero connection settings - (single branch)
When you have clicked the settings icon, you will see the Connection settings screen where you can now complete your connection details.
- Click the box to Enable Xero Settings Edit, to allow access to edit the fields below.
- Xero Oauth 2 organisation name: Enter your Xero Organisation name. (NOTE: This must be an exact match. Copy what you have in Xero and paste it here).
- Xero oauth 2 callback url: The details will be populated automatically.
- If you are using tracking categories in Xero and you would like to map them to either Branch, Departments, Projects or Cost codes in Lentune, enter the Tracking Category name in any one of these fields. Otherwise, leave these fields blank.

- Click Connect to Xero.

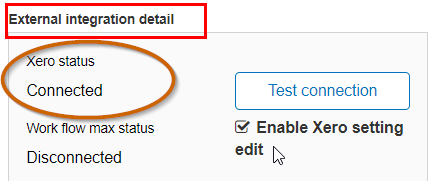
In the Connection settings, you will now see the Xero status as Connected.
This will open a link back to Xero where you can complete the Xero settings.
Multi Branches with Multiple Xero organisations
A. Where you have multiple Lentune branches but only one Xero organisation, then use the option above for Xero With Oauth2.
B. Where you have multiple Lentune branches AND multiple Xero organisations, then use the option Xero Multi Branch With Oauth2.
Where you are using the option Xero Multi Branch With Oauth2, in the Integration connection settings, the corresponding field will be ticked. You will also see a tab at the top of your screen for Xero Multi-Branch.

Click the Settings icon ![]() to see all branches, and select the first branch to set up.
to see all branches, and select the first branch to set up.

Now enter the organisation name for this branch.
- Xero oauth 2 organisation name: Enter the organisation name that this branch belongs to. There may be more than one branch belonging to an organisation. (NOTE: This must be an exact match. Copy what you have in Xero and paste it here).
- Xero oauth 2 callback url: The details will be populated automatically.
- Click Connect to Xero.

This will open a link back to Xero where you can complete the Xero settings.
- Complete these steps for each Branch.
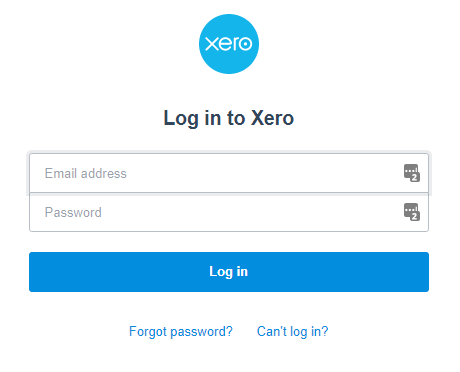
Xero Settings
- Enter your Xero login credentials of your Xero username and password.
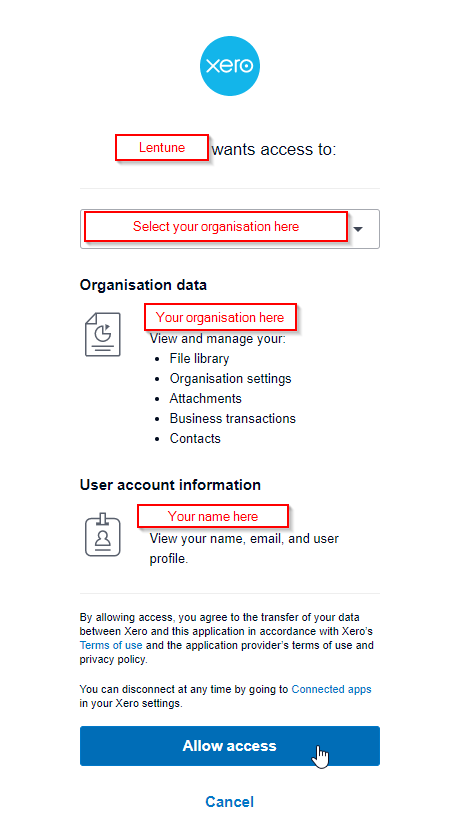
- You will then be asked to grant Lentune access to your organisation.
Test and Sync in Lentune
If the connection has been successful, you will be navigated back to the Lentune Settings screen.
The Xero Status will now show as Connected.
- Once connected, click Sync All Payable Accounts.
This will load all your Payables/Suppliers into Lentune from Xero.

To establish your Tax Settings, please click Mapping Tax Settings to Xero.
Check the Success of your Batch Processing
Where your invoices batches are sent to one or two systems, you can check if they have been processed successfully in the Process or Batches screens for each relevant integration method. You'll see columns only for the integration method/s selected for your system.
Process screen
In the Invoice Automation > Process screen, you'll see a tick for each successfully processed invoice or a cross for a failed invoice for each relevant integration type.

Batch screen
Invoice Automation > Batch screen, you'll see a tick for each successfully processed invoice in this batch or a cross for a failed invoice for each relevant integration type.

Need more help? We’re here! We hope our article was helpful! If you need more info or want to connect, drop us an email at support@lentune.com.
Thank you. We love to hear from you!
Last updated: 4 June 2024