Introduction
The Head Contract is the agreement of payment schedules for the project that you have created with your customer. You may have only one Head Contract for a Project. The Code for a Head Contract is created automatically from the Prefix in your settings and the next available number.
Add a Head Contract
Let's get started to add the Head Contract:
- Start at Payment Claims > Head Contract.
- Click New contract.

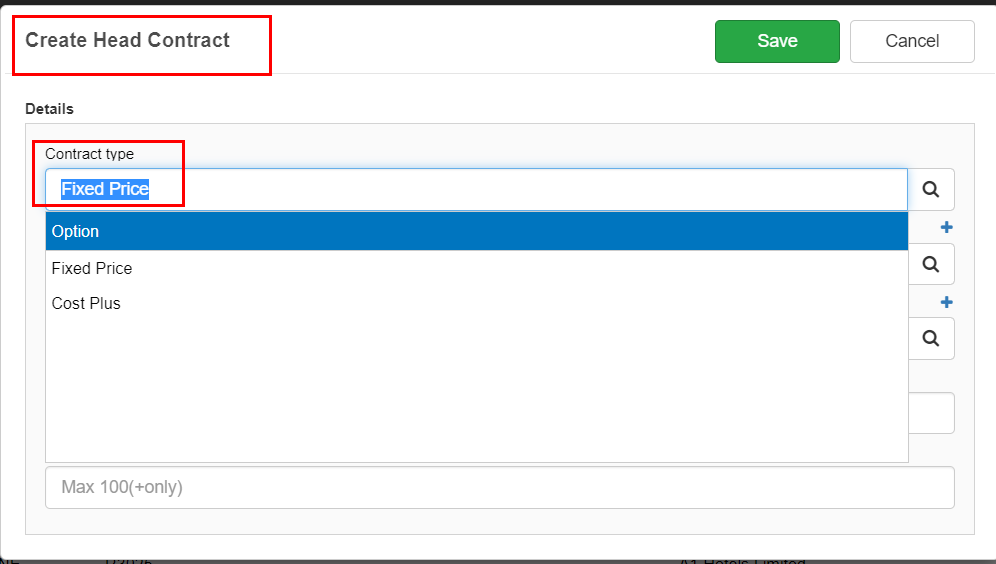
In the Create Head Contract screen:
- Contract Type: Select either Fixed Price or Cost Plus from the dropdown list. Selecting Fixed Price means that your contract will be agreed with your customer as a fixed price. Selecting Cost Plus means that the contract will be agreed to be priced at Cost plus an agreed margin percentage. You can create Trade Summary lines with a different Contract Type to this setting, thus allowing you to have a mixture of both types in your Head Contract. Refer to Set Up a Head Contract as Cost Plus or Fixed Price for more information on the difference Contract Types.
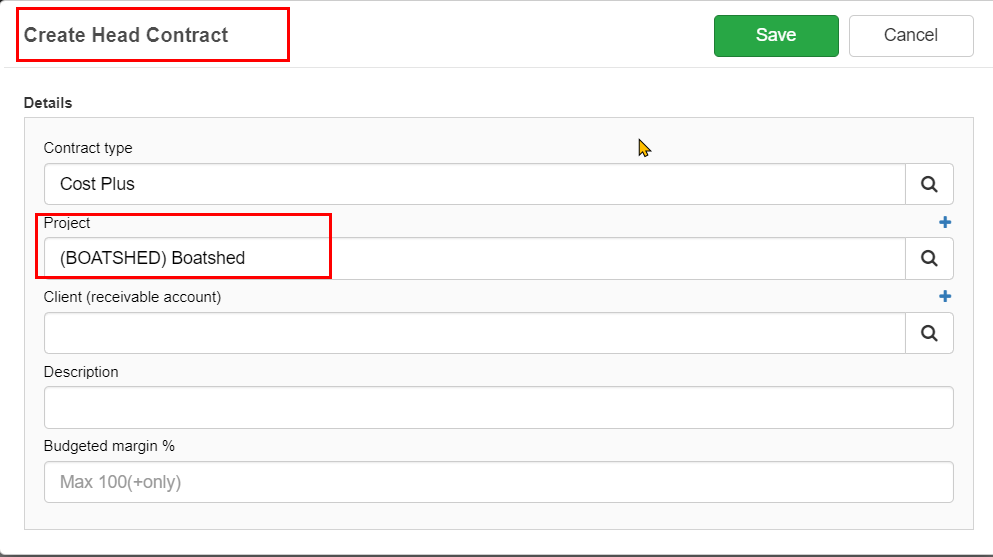
- Project: The next field to set up is the Project. You can create a new Project by clicking the blue Plus
 above the Project field. If you have already set up the Project, you can select it from the dropdown list.
Add a Project for the Head Contract
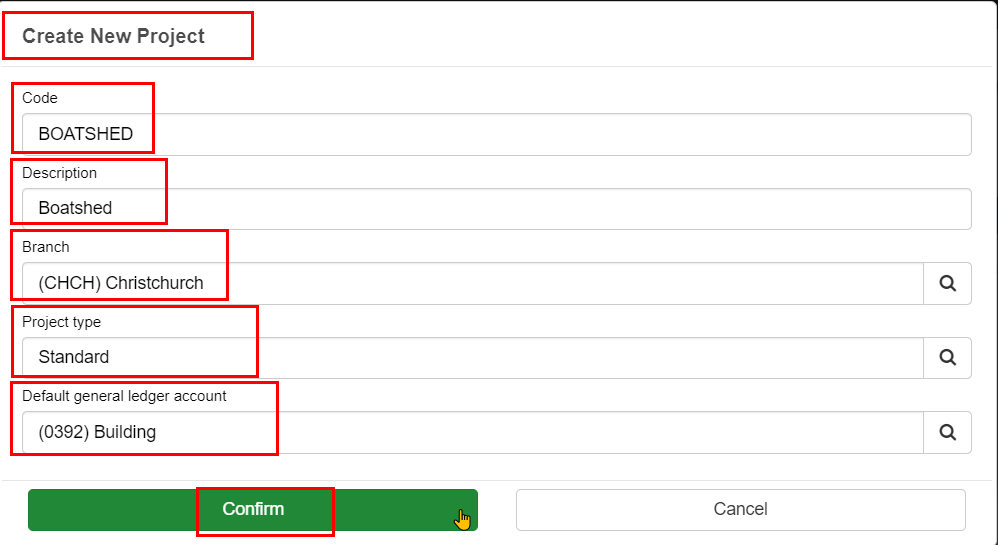
If you are creating a new Project, then in the Create New Project screen:
- Add the Project code and Description and select the Branch for this Project.
- Project Type: This will default to Standard.
- Default General Ledger Code: You can select a General Ledger code for this Project. If you are not using Lentune's General Ledger, you can leave this field blank.
- Click Confirm.
This takes you back to the Create Head Contract screen:
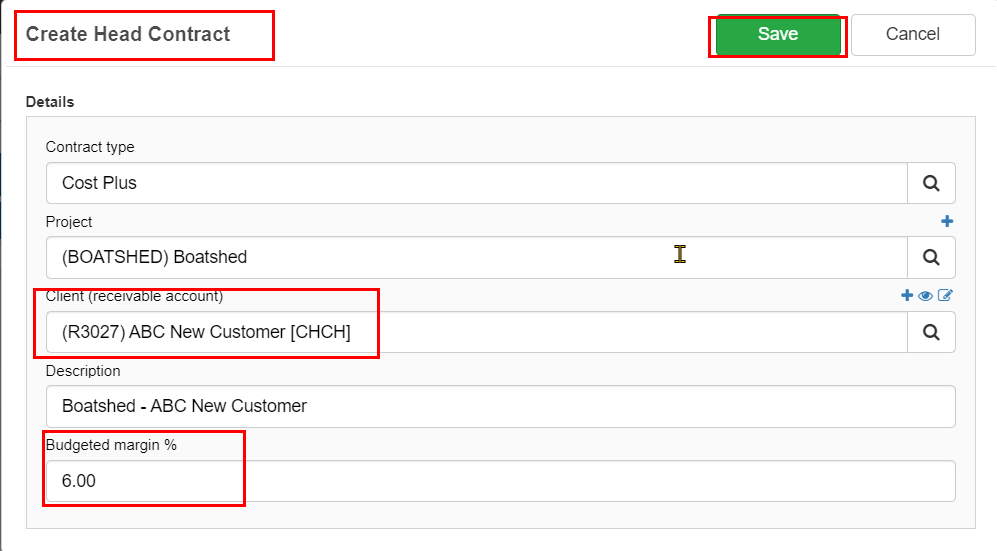
- Client: Select the Receivable Account for this Contract from the dropdown list, or create a new Receivable Account by clicking on the blue Plus to the right of the Client (receivable contract) field. Refer to Add a new Receivable Account for details on setting up a new Receivable Account / Customer. If your Lentune system is integrated to Xero, the Receivable Accounts can be pulled in from Xero, so you will be able to select the client from the dropdown list.
TIP: If you are adding a new Receivable Account that has not yet been added in Xero, you should now set up the Invoice and claim delivery contact point to tell the system that this will be a Xero client. Refer here to read about this step.
TIP: If you accidentally use the wrong Receivable Account when you set up your Head Contract, you can change this later. Refer to Change the Client/Receivable Account on a Head Contract.
- Description: The Description for the Head Contract will now be set automatically as a combination of the Project description and the Client description.
- Budgeted Margin: This field appears if you have selected the Contract Type as Cost Plus. Add the expected margin. If you have selected the Contract Type as Fixed price then this field is not shown.
- Click Save.
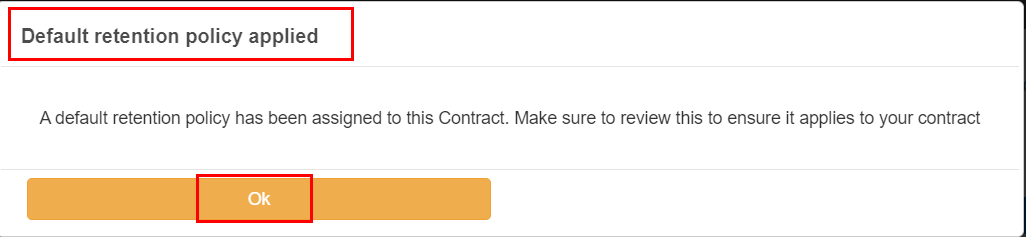
This takes you to the Default retention policy applied warning message. This reminds you that a default retention policy has been applied. Refer to Adding Retention Percentage Levels to your Head Contract to read about this.
- Click OK to confirm.
The Code for a Head Contract is created automatically from the Prefix in your settings and the next available number. You can edit this from the Details tab if necessary.
This takes you to the Contract screen where you can add your Trade Summary lines. You will see one line called Default line for unassigned cost codes has been created automatically. You can use this line to attach the various Cost codes that you might use during the Project, then re-assign them to the correct Trade Summary lines.
Cost Codes for the Project can be added now. If you haven't already added them to the Project manually, you can import them here.
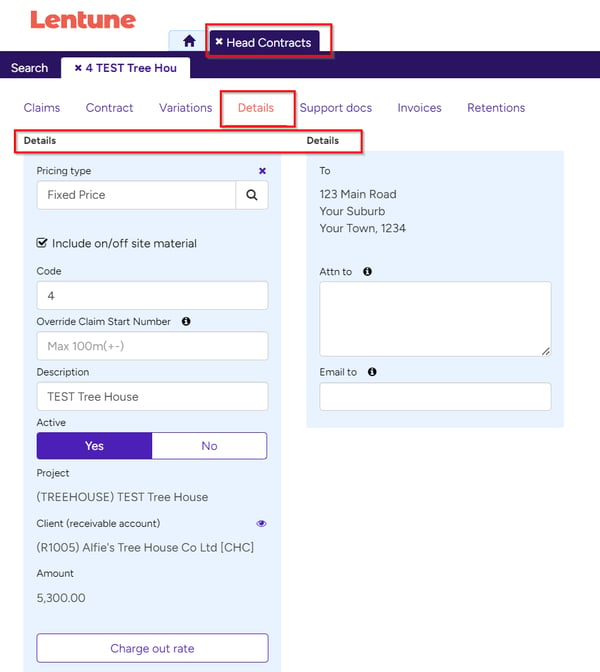
Details Tab
In the details tab, you can view the details of the Head Contract that will appear on the Head contract document and on your claims documents. You are able to update the fields that have a white background, such as the Description, Attention to name, and Email to field.

Next Step - Add the Trade Summary Lines
Your next step is to Add the Trade Summary Lines for this Head Contract.
Need more help? We’re here! We hope our article was helpful! If you need more info or want to connect, drop us an email at support@lentune.com.
Thank you. We love to hear from you!
Last updated: 13 February 2024